Paper
Our Monograms
 |
 |
I made two different versions of our monogram so I could use it for different things. I love the intertwining monograms, and knew I wanted one the first time I saw it. I made mine on Photoshop, but I'm sure you could probably make one on Powerpoint and/or Microsoft Paint if you wanted to.
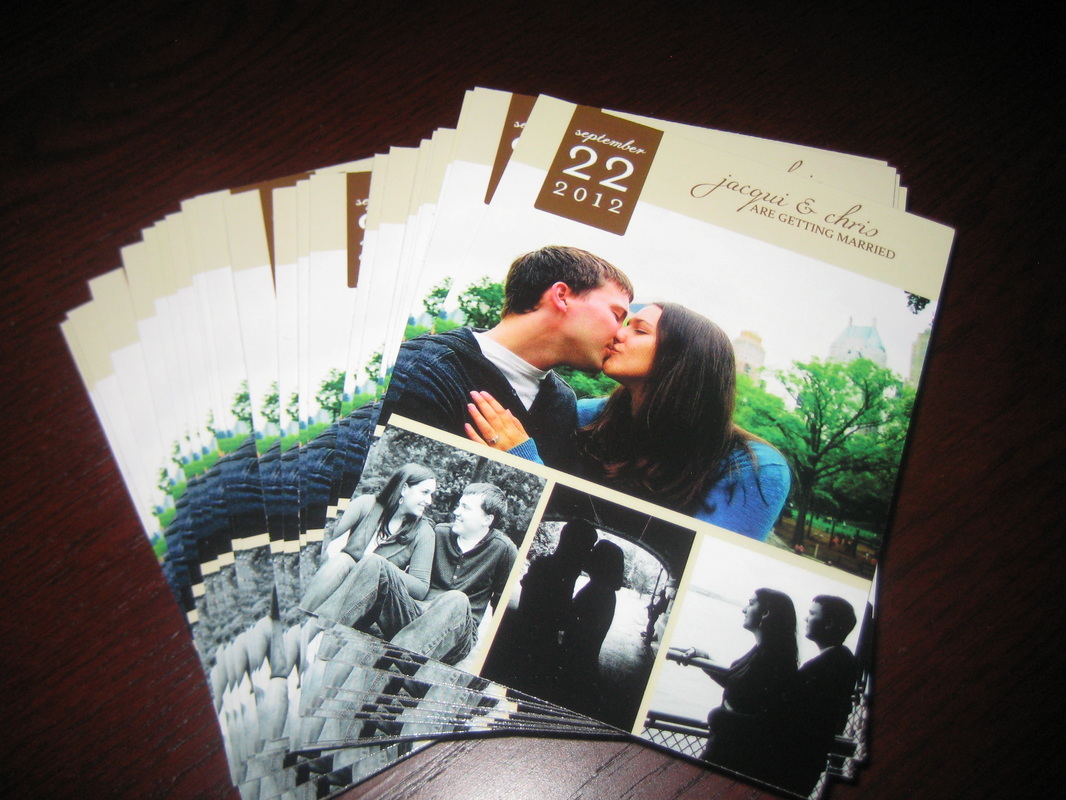
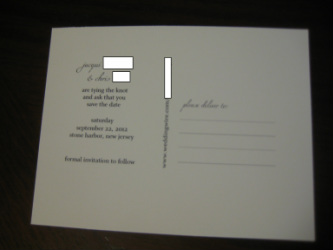
Save The Dates
We sent our STD's to OOT guests in November 2011. STDs for everyone else were sent out on Valentine's Day 2012. I designed them in Photoshop and printed with VP. I definitely stole the layout from Wedding Paper Divas, but put in all the work to make it my own (if that counts for anything...)
|

|
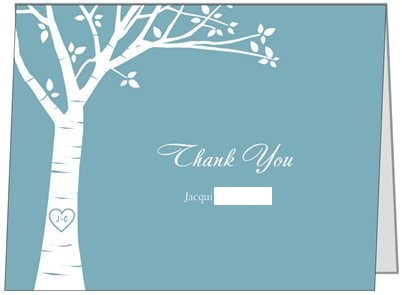
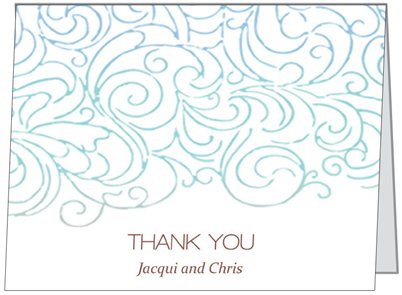
Thank You Cards
|
|
I made two different thank you cards: one of them is for before the wedding (for my shower- on the left), and the other is for after the wedding (on the right). For gifts we receive prior to the wedding & not at my shower, we'll just use the ones on the right (that's why I stayed away from using "Mr. and Mrs." or my new last name).
Invitations
|
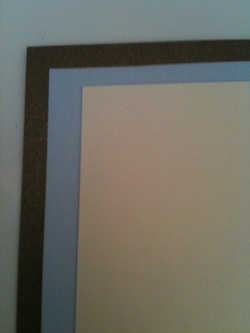
We went with this combination of Bronze (it's metallic but you can't really see it here), Azure Blue, & Cream Puff from Cards & Pockets.
I have custom-designed many of the paper elements of our wedding, and am finally getting started with printing, cutting, and assembling. I only have 80 invitations to make, but this project is certainly a labor of love. I'm breaking it down into steps to help things run smoother. |
 |
Invitation To Do List:
-Order paper & envelopes
-Receive paper & envelopes
-Design in Photoshop
-Address envelopes
-Put return address on envelopes
-Mark pockets for mounting invitation mats
-Mount invitation mats
-Mark invitation mats for mounting invitations
-Create a checklist to make sure every guest is getting the full invite with the details specific to them
-Print invitations
-Cut down invitations
-Mount invitations
-Print RSVP cards
-Cut down RSVP cards
-Print enclosures
-Cut down enclosures
-Put enclosures in pocket
-Print RSVP envelopes
-Buy postage for RSVP envelopes
-Number RSVP cards
-Put RSVPs and RSVP envelopes in pocket
-Take to post office to be weighed
-Select and purchase postage
-Eyeball each invite to make sure it's perfect
-Seal envelopes
-Put stamps on envelopes
-Hand cancel
-Mail and wait for replies!
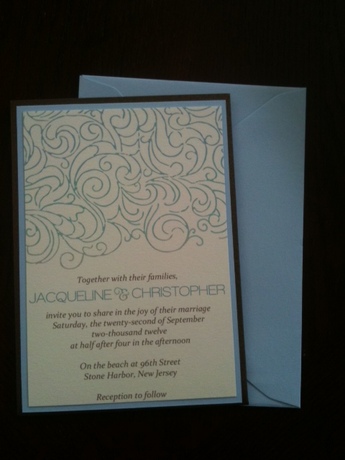
This is my invite inspiration picture. Not the graphics or anything, but the way it's laid out.
We chose to do panel pockets instead of pocket folds for the more casual (yet still formal) feel. I'll be mounting the invite on the flat side, and using the back for our enclosure cards as shown here.
We chose to do panel pockets instead of pocket folds for the more casual (yet still formal) feel. I'll be mounting the invite on the flat side, and using the back for our enclosure cards as shown here.
The front of the panel pocket
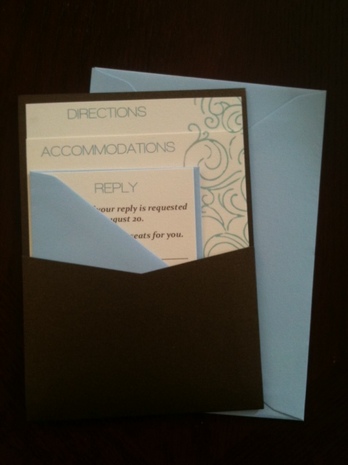
The back of the panel pocket. The pocket is metallic bronze, but unfortunately my iPhone camera sucks and didn't capture that haha.
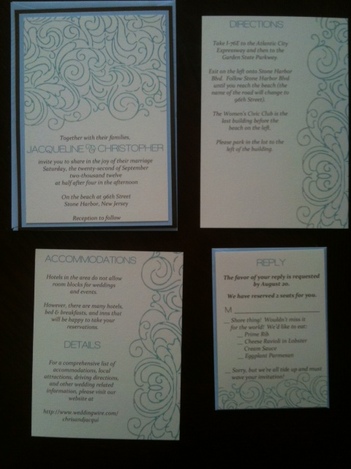
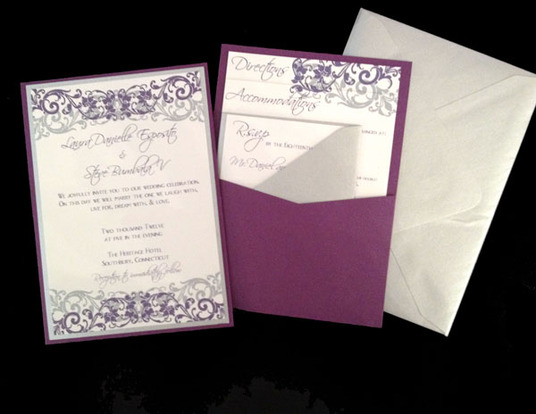
The invitation & all the inserts. Directions are specific to each person (depending on what state they are traveling from) and we had two different RSVP cards: one reserving 1 seat and the other
reserving 2. We're hoping that it will help avoid the drama of guests trying to bring extra people :p
reserving 2. We're hoping that it will help avoid the drama of guests trying to bring extra people :p
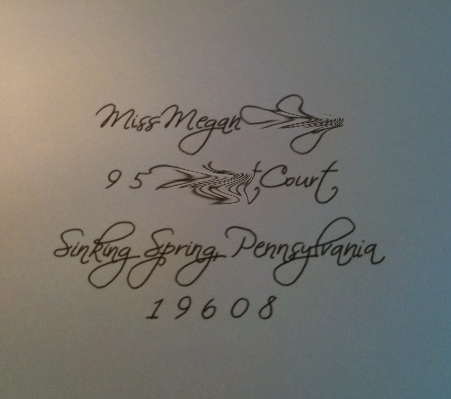
One of my mailing envelopes :) I printed them all really really lightly (I could barely see it) with font Scriptina Pro. Then I traced all the envelopes with a nice gel pen. It took FOREVER but they are just beautiful!
